Sunday, March 23, 2014

Living Room Dirt


The living room is coming along.  I now have all of the sheetrock down on the walls and ceiling.  I knew it would be messy but I just didn't know how messy.  

In my first post I explained that normally when a house had shiplap boards they were not really made to be seen.  A muslin/cheesecloth type material was nailed with little tacks onto the wall then wallpapered over.  This wallpaper looks like actually someone painted over it.  I'm just going to guess in the 50's or 60's.


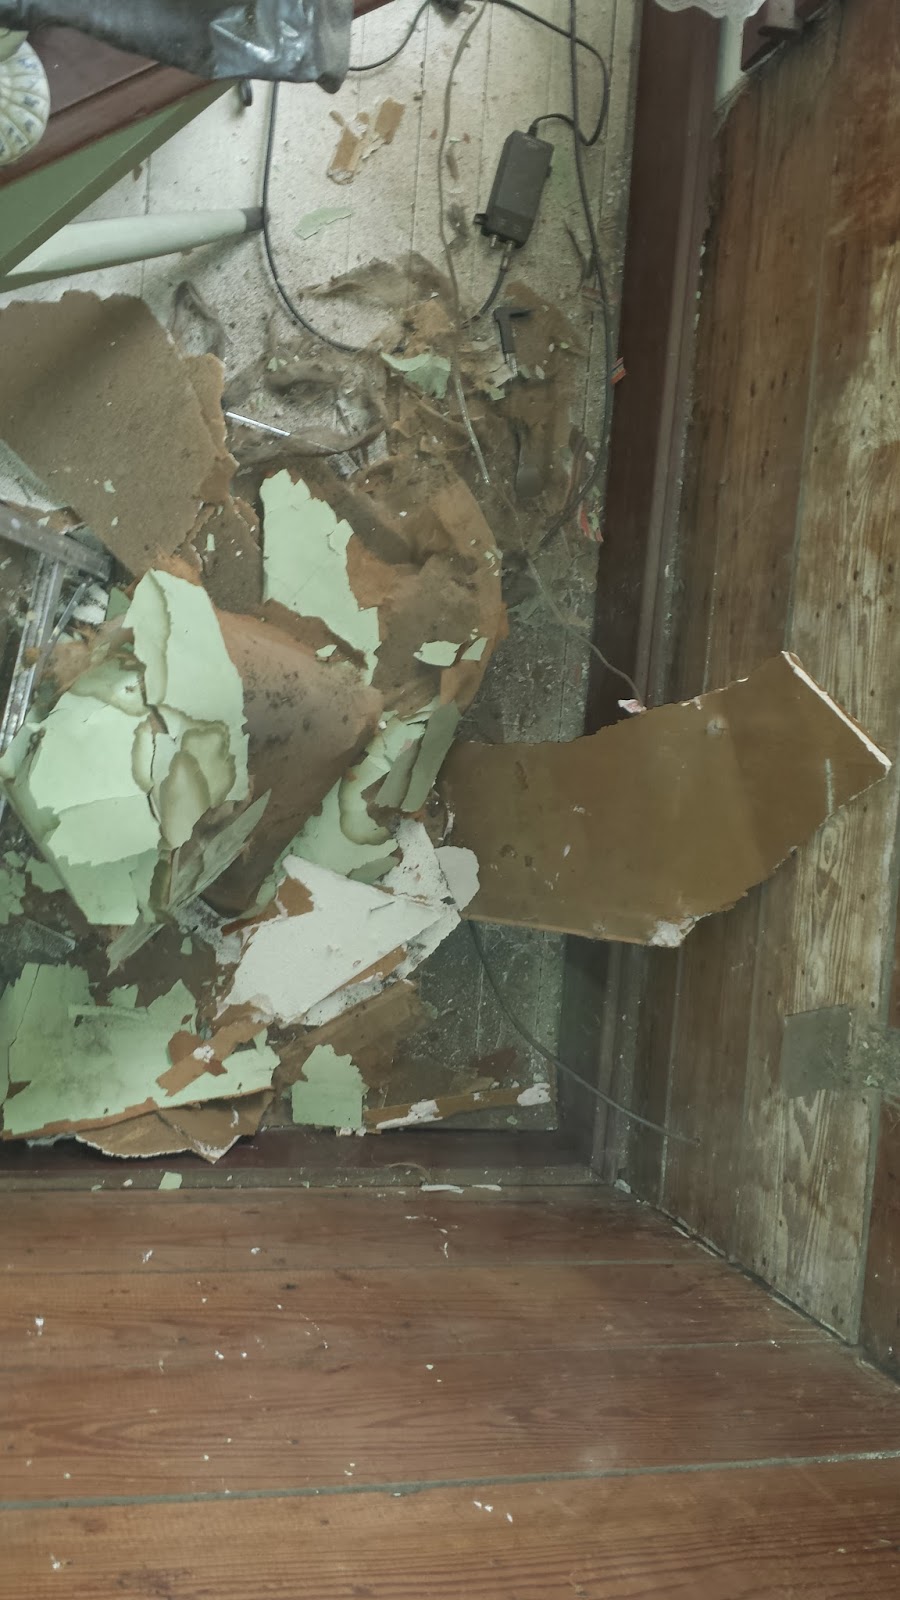
Whomp whomp...I found past electrical outlets that left big holes.  

The trash cans were filled many many times.  I'm sure the trash men are cursing my name.

Where there use to be a window

How the wallpaper looked after the sheetrock was down.  In a few places it looked like someone had applied tape over it.

This is what the back looks like


It looks like some type of water damage maybe?


I knew taking down the sheetrock and wallpaper would be the worst on the ceiling but it's one of those things that you know is going to be bad but you're praying it won't be.

So you make your teenage son go first:

The sheetrock itself wasn't as bad. But when the wallpaper was pulled down about 50 years worth of dirt came down too.


It was this really fine black dirt.  The kind that you sweep and sweep and it's still there.  I had to get out the shop vac and do it that way.

The ceiling is in very good condition.  There are spots that have some gaps so I applied Great Stuff to those. 

Primer!  I'm painting the walls white and I'm going to just polyurethane the ceiling.

To fill in the holes I sprayed Great Stuff again and then used wood filler.

I'm almost done painting now!  I can't wait to get my furniture back where it goes. Another project that I can't believe I actually did.  Words cannot describe how disgusting the dirt was.  My daughter wouldn't even go in the living room.  Ha   Final painting pictures coming soon!

Monday, March 10, 2014

Making some headway in the living room!

More like making a total mess. My son is helping some of course him being grounded has worked in my favor. Amazing how fast teenagers work when you tell them they can have their phone back sooner if they help.

Here are some updated pictures. I'm actually trying to post this from my phone because I'm still having computer issues.

Pretty awesome condition considering it's 104 years old.


This is the old wallpaper. 

One of the strangest things I've come across so far. I'm not sure what happened here. The wood itself is in excellent condition. It's like this section was a replacement. On the other side is the bathroom. I think this is where another window had been and they sealed it off when the bathroom was put in. But why the wood looks like that I don't know.


Little piece of the original wallpaper.

An example of the mess we're living with.

Hopefully by the next post my computer will be fixed!

Monday, March 3, 2014

Laundry Room Overhaul

After living here two years and doing countless other projects like painting the entire exterior I couldn't wait to get my hands on the laundry room.  On the exterior of the laundry room wall was the last part of the exterior to paint. I called it "our hidden shame".  

The outside:
See beautifullness to the right and ugliness to the left?

On the right is original siding and the left is 80's masonite siding.

First up I had to re-paint this mess and add insulation

Before:

After:

Next up and I couldn't wait for this: tear out this horrible 80's, rotting, ant infected masonite siding:


My plans were:
Remove siding
Replace light fixture
Replace the two cheap windows with one vintage window (craigslist find $20)
Replace the door jamb and add replace french door with a vintage door (local salvage shop $75)
Add a stained glass vintage window to the left of the door (craigslist $25)

On the other side of the wall is the laundry room. The plan in there was:
Replace 80's paneling
Re-paint ceiling and walls
Make-over window from laundry room to living room.
Re-place ugly bi-fold door with a vintage screen door (craigslist $30)

Buh bye ugly cheap windows:

They weren't leaving without putting up a fight though:


Rotting door jamb

Rotting masonite siding.

Nasty going down, pretty going up!


Here's my beautiful window!

Framing it out

View from inside

Finger nail injury.  The drill slipped and cracked my nail.  It took months for that to grow out.

We got it in!

We had to replace the door jamb.  Look how disgusting it was.

And a partially rotted sub floor..

My husband had to help with that part.  We cleaned it out then added more wood.

New threshold and our pretty new door jamb installed!

Our vintage door.  I stripped it down to bare wood then re-painted.


Primer


I stripped all the hardware

The window is in, rotting door jamb replaced, hardware re-painted and door hung!

Our vintage window.  I stripped it too.

50's blue under those handles.  I used stripper and went down to bare wood.

Saturday, March 1, 2014

Inspiration For The Living Room

The last week I've been really sick with a bad cold.  Between being sick, working part time, and running the kids here and there I haven't gotten much done except look on the Internet.

Two of the nicest ladies I have met online gave me some great inspiration.

Kim from Living Vintage has this great photo of her dogtrot breezeway.
I love this for my ceiling if I paint it.


But then there's this picture from a cottage in Arkansas were the boards are left unpainted.

As for how I'm going to do the floor....

Cindy from Glass Slipper Restorations had this picture of her bathroom. Maybe I should do a pattern?


This is also pretty cool.  A painted like rug?


Or random flowers?  From Cutting Edge Stencils

I like the colors in the above picture.  Maybe make a rug with the flowers in the middle?


Or paint and then lightly distress?


Will it look funny with stained baseboards that are refinished?

So these are the things I've been pondering.  

BUT first the drywall has to come down and that's a big job!