
The Laundry Room!! The room that is probably most utilized is the last room to have anything done to it. That's just how it worked out.
This also ties into the back of our house.
Ugly, hideous windows. I don't know what the purpose of these windows were other than light. They were screwed shut. They also were these flimsy cheap plastic. It was very strange.

But of course there's real glass in them! Yeah that happened.

Here's the inside view (pre-broken window). Ugly painted paneling and NO insulation.


This is our switch to nowhere. We never found out what it went to.

So the plan here was:
1. Take out the old ant infested falling apart siding on the outside
2. Rip out paneling
3. Re-paint
4. Replace windows with one vintage window
5. Take out switch to nowhere
Problem. The laundry room is all siding because it was a screened in porch. I just really really didn't want to do sheet rock. If I bought new wood siding it would've been around 200 and I just didn't want to put that much into right now because we also have to buy siding for the outside. Then I had an epiphany! I could use the fence panels a neighbor gave me.
Let me tell you that was difficult by yourself and I have no desire to ever do it again. That's why when I did Joe's office like this I had the teenager cut them.
The panels were in a big stack in the back yard. They are also quite heavy. My first thought was to put it on saw horses but I couldn't lift them. So I would just pull a panel down off the pile. Turn it over. Because these were used and the bottoms were a little rotten and I wanted the tops flush. I cut the bottoms and the tops off using the boards that the panels were nailed to as guides. That way I only have to take out nails in the middle. It was just a little scary using the circular saw on the ground. Quite honestly I'm surprised I still have all my fingers and toes.
I had found this awesome vintage window for 20 bucks on Craigslist months and months ago. It needed to be stripped and repainted. Instead of a heat gun and breaking the glass like I did on the door I just used Klean Strip.


I just love the handles.
50's Blue underneath!


I had to take the old glazing out and apply new. It's basically puddy that hardens and that is what holds the glass in.
First board:


I tried to stagger them.


Then came time to take out the old windows and install the new old one!


It took some finageling to figure out the top. I had to take that piece of trim down. Install another row of boards and re-install the trim over it.

During this time it rained some. I was in a hurry to put up the house wrap and I accidentally stapled a staple into one of the window panes. I was very upset.

The outside. (obviously no siding yet)
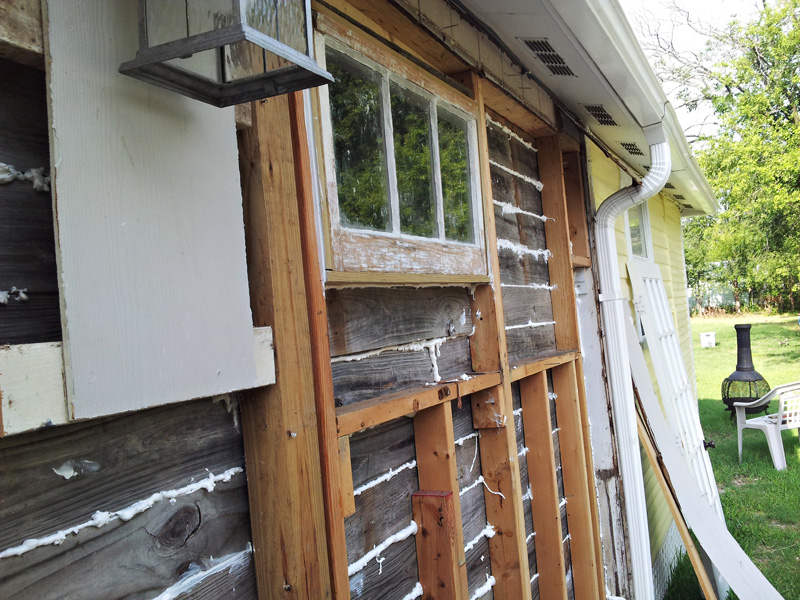
Used great stuff to seal in between the boards.


I painted the handles black like the hinges of the door.


Part two coming soon!
No comments:
Post a Comment